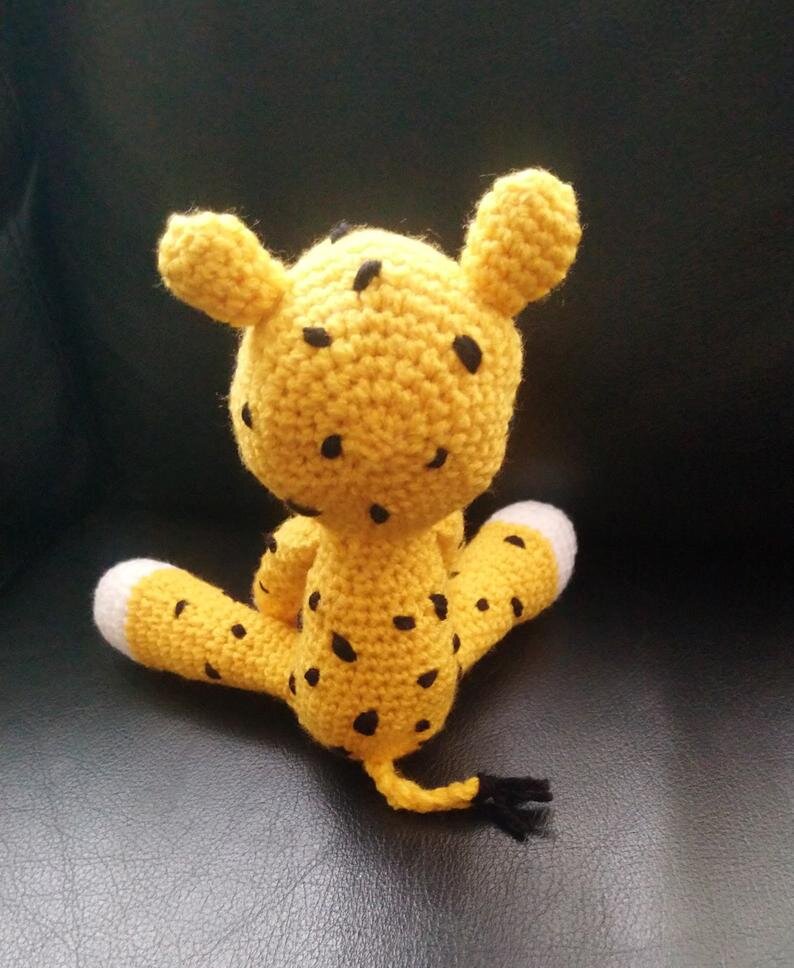
Cheetah Amigurumi Free Crochet Pattern
The premium add free pattern can be purchased as a PDF download here for £2.00
Written in US terms with abbreviations for UK terms
sc=single crochet (double crochet in UK terms)
inc=increase by 2 sc in next stitch
dec=decrease by sc next 2 stitches together
ch=chain
Materials
40g Paintbox yarns dk LoveCrafts mustard yellow
10g pure black
20g paper white
2mm hook I use this set from Amazon*
8mm Safety eyes or black yarn for sewn on eyes
Polyester toy stuffing
Needle
Stitch marker
All parts are made going round in a spiral and we will attach arms and legs by crochet so less sewing.
Leopard will measure approximately 11 inches from head to toe when finished (8 inches when sat)
Head
Start in white
Rnd1 6 sc in magic circle. (6)
Rnd2 *inc* x 6. (12)
Rnd3 *1 sc, inc* x 6.(18)
Rnd4 sc all. (18)
Rnd5 *2 sc, inc* x 6. (24)
Rnd6 sc all. (24)
Change to yellow
Rnd7 *3 sc, inc* x 6. (30)
Rnd8 sc 7, inc, sc 14, inc, sc 7. (32)
Rnd9 *sc 15, inc* x 2. (34)
Place a marker between rows 9 and 10 for safety eyes.
Rnd10 sc 8, inc, sc 16, inc, sc 8. (36)
Rnd11 *sc 11, inc* x 3. (39)
Rnd12 sc 6, inc *sc 12, inc* x 2, sc 6. (42)
Rnd13 sc 3, inc, *sc 6 inc* x 5, sc 3. (48)
Rnd14-17 sc all. (48)
Rnd18 *sc 6, dec* x 6. (42)
Place safety eyes between rows 9 and 10, 9-10 stitches apart.
Start to stuff and continue throughout.
Rnd19 *sc 5, dec* x 6. (36)
Rnd20 *sc 4, dec* x 6. (30)
Rnd21 *sc 3, dec* x 6. (24)
Rnd22 *sc 2, dec* x 6. (18)
Rnd23 *sc 1, dec* x 6. (12)
Rnd24 *dec* x 6. (6)
Fasten off and sew in ends.
Ears
Using yellow
Rnd1 6 sc in magic circle. (6)
Rnd2 *inc* x 6. (12)
Rnd3-6 sc all. (12)
Fold in half at the bottom and sew a few stitches to keep in place.
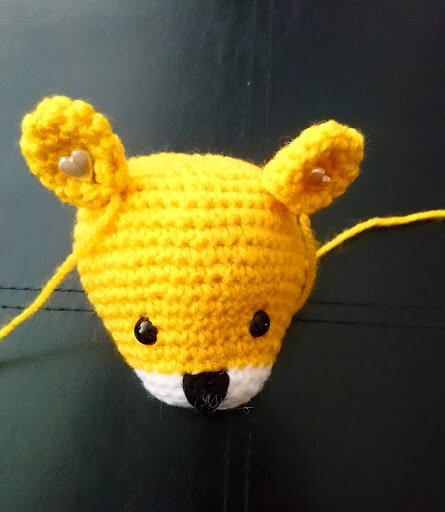
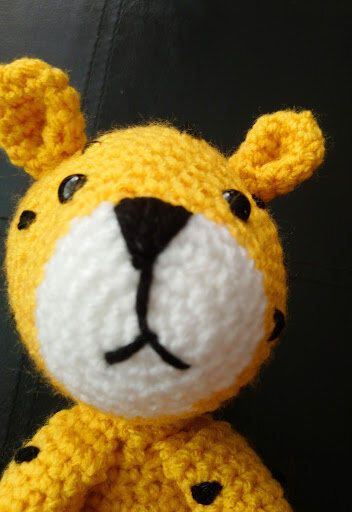
Sew on the 16th round of head above the eyes.
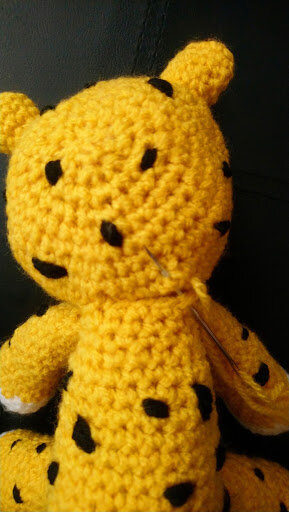
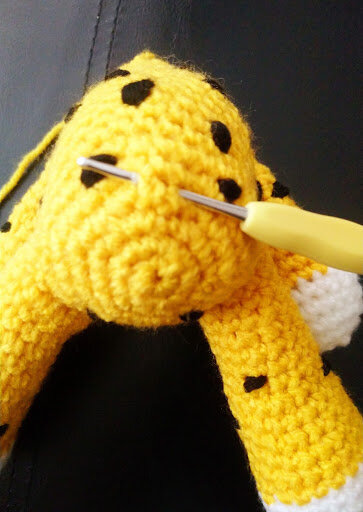
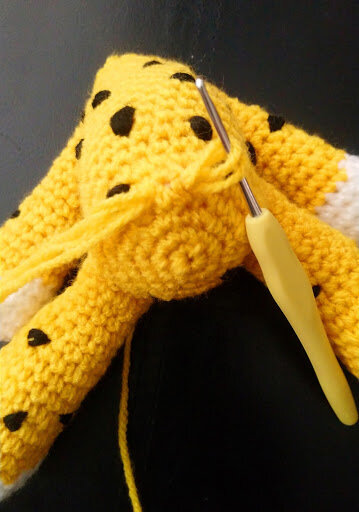
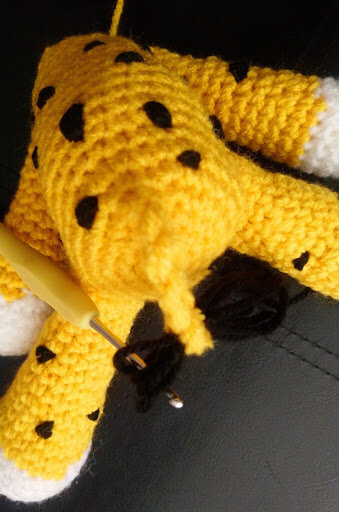
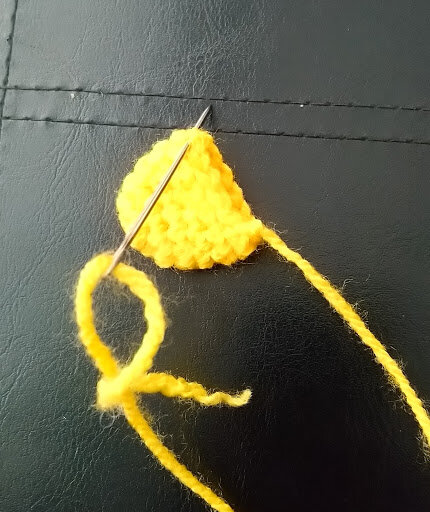
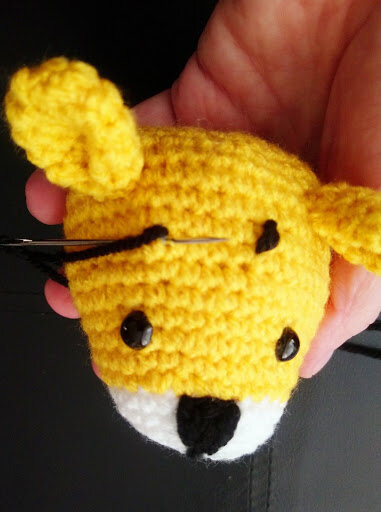
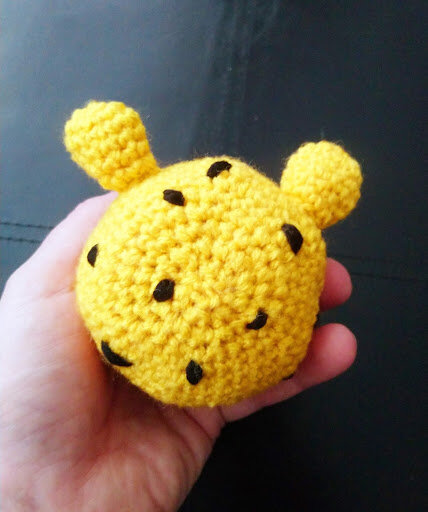
After sewing ears join in a long strand of black yarn and sew a nose 3 stitches wide and 3 stitches long in a triangle shape and continue to sew mouth, then sew random black spots one and two stitches wide with around three stitches for each, also do them in different directions.

Arms
Make 2 starting in white
Rnd1 6 sc in magic circle. (6)
Rnd2 *inc* x 6. (12)
Rnd3 *1 sc, inc* x 6. (18)
Rnd4-5 sc all. (18)
Rnd6 *sc 7, dec* x 2. (16)
Change to yellow
Rnd7 sc all. (16)
Rnd8 *sc 6, dec* x 2. (14)
Rnd9 sc all. (14)
Rnd10 *sc 5, dec* x 2. (12)
Rnd11-12 sc all. (12)
Rnd13 *sc4, dec* x 2. (10)
Rnd14-20 sc all. (10)
Fasten off and stuff
Legs
Make 2 starting in white
Rnd1 6 sc in magic circle. (6)
Rnd2 *inc* x 6. (12)
Rnd3 *sc 1, inc* x 6. (18)
Rnd4 *sc 2 ,inc* x 6. (24)
Rnd5-6 sc all. (24)
Rnd7 *sc 10, dec* x 2. (22)
Change to yellow
Rnd8 sc all. (22)
Rnd9 *sc 9, dec* x 2. (20)
Rnd10 sc all. (20)
Rnd11 *sc 8, dec* x 2. (18)
Rnd12 sc all. (18)
Rnd13 *sc 7, dec* x 2. (16)
Rnd14 sc all. (16)
Rnd15 *sc 6, dec* x 2. (14)
Rnd16 sc all. (14)
Rnd17 *sc 5, dec* x 2. (12)
Rnd18-21 sc all. (12)
Fasten off and stuff.
Body
Using yellow
Rnd1 6 sc in magic circle. (6)
Rnd2 *inc* x 6. (12)
Rnd3 *1 sc, inc* x 6. (18)
Rnd4 *2 sc, inc* x 6. (24)
Rnd5 *3 sc, inc* x 6. (30)
Rnd6-7 sc all. (30)
Over the next two rounds we will attach the legs.
Rnd8 sc 6 through leg and body, sc 3, sc 6 through leg and body, sc 15. (30)
Rnd9 sc 6 through unused stitches of leg, sc 3 sc 6 through unused stitches of leg, sc 15. (30)
Rnd10-16 sc all. (30)
Rnd17 *sc 3, dec* x 6. (24)
Rnd18 sc all. (24)
Rnd19 *sc 2, dec* x 6. (18)
Rnd20 sc up to the center back, ready for the next round. (18)
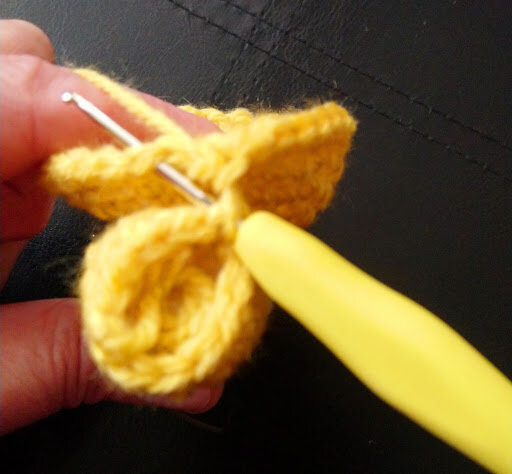
The next round we will attach arms, fold in half and sc through front and back of arms
Rnd21 Sc 4, sc 5 through arm and body, sc 1, sc 5 through arm and body, sc 3. (18)
Rnd22 sc all. (18)
Fasten off with a long end for sewing head to body and finish stuffing.
Sew spots randomly on the body and legs, the same way as the head.
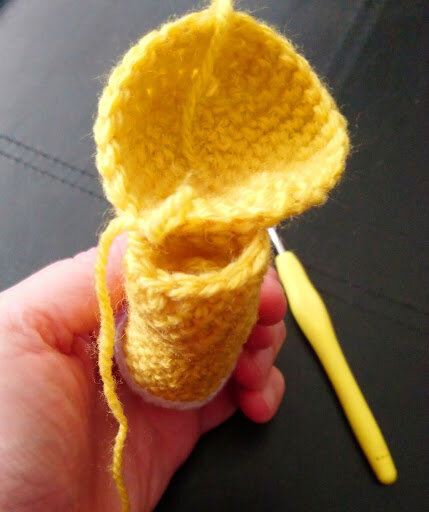
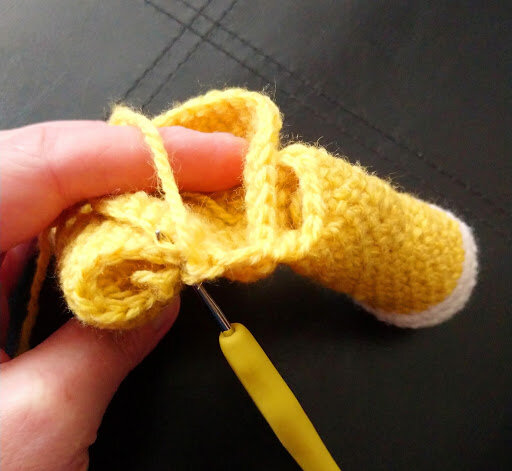
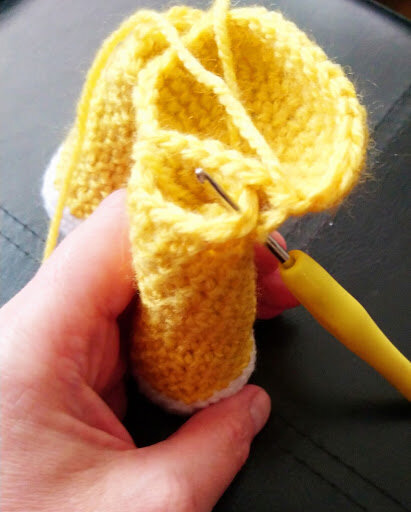
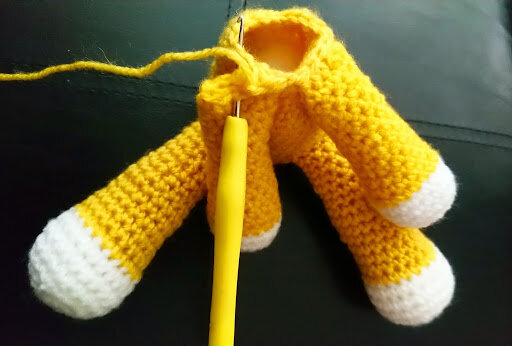
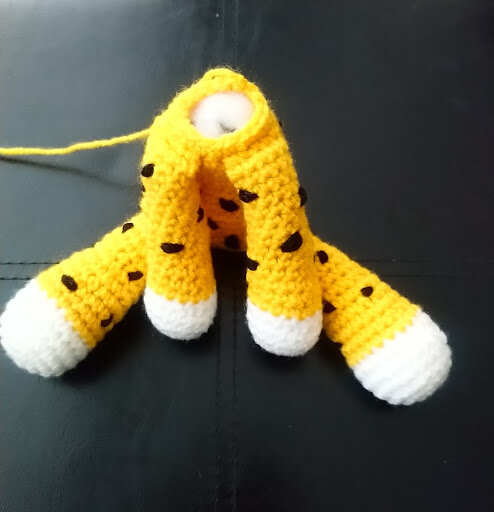
Pin the head in place and sew when happy with position, adding more stuffing before closing up to ensure firm.
Tail
Cut 2 strands of yarn in yellow around 12 inches, then insert 3mm hook through 2 stitches where you want the tail to be.
Pull through yarn and ch6, fasten off and sew in the ends.
Cut 4, 6 inch strands of black yarn.
Fold the strands of yarn in half and pull the center part way through the end of the tail, so its about an inch through forming a loop, then pull the tail ends of yarn through the loop and tighten, snip ends to around 2cm for the tassel.
That's it completed. I hope you enjoyed making my pattern!
I would love to see your makes feel free to share @babycrochetdesigns Instagram, Pinterest and Facebook.
*COPYRIGHT 2021 This pattern is made for personal use only. You may not copy, share or sell this pattern, you may make and sell items made from my patterns but please credit me @BabyCrochetDesigns as the designer many thanks*

