
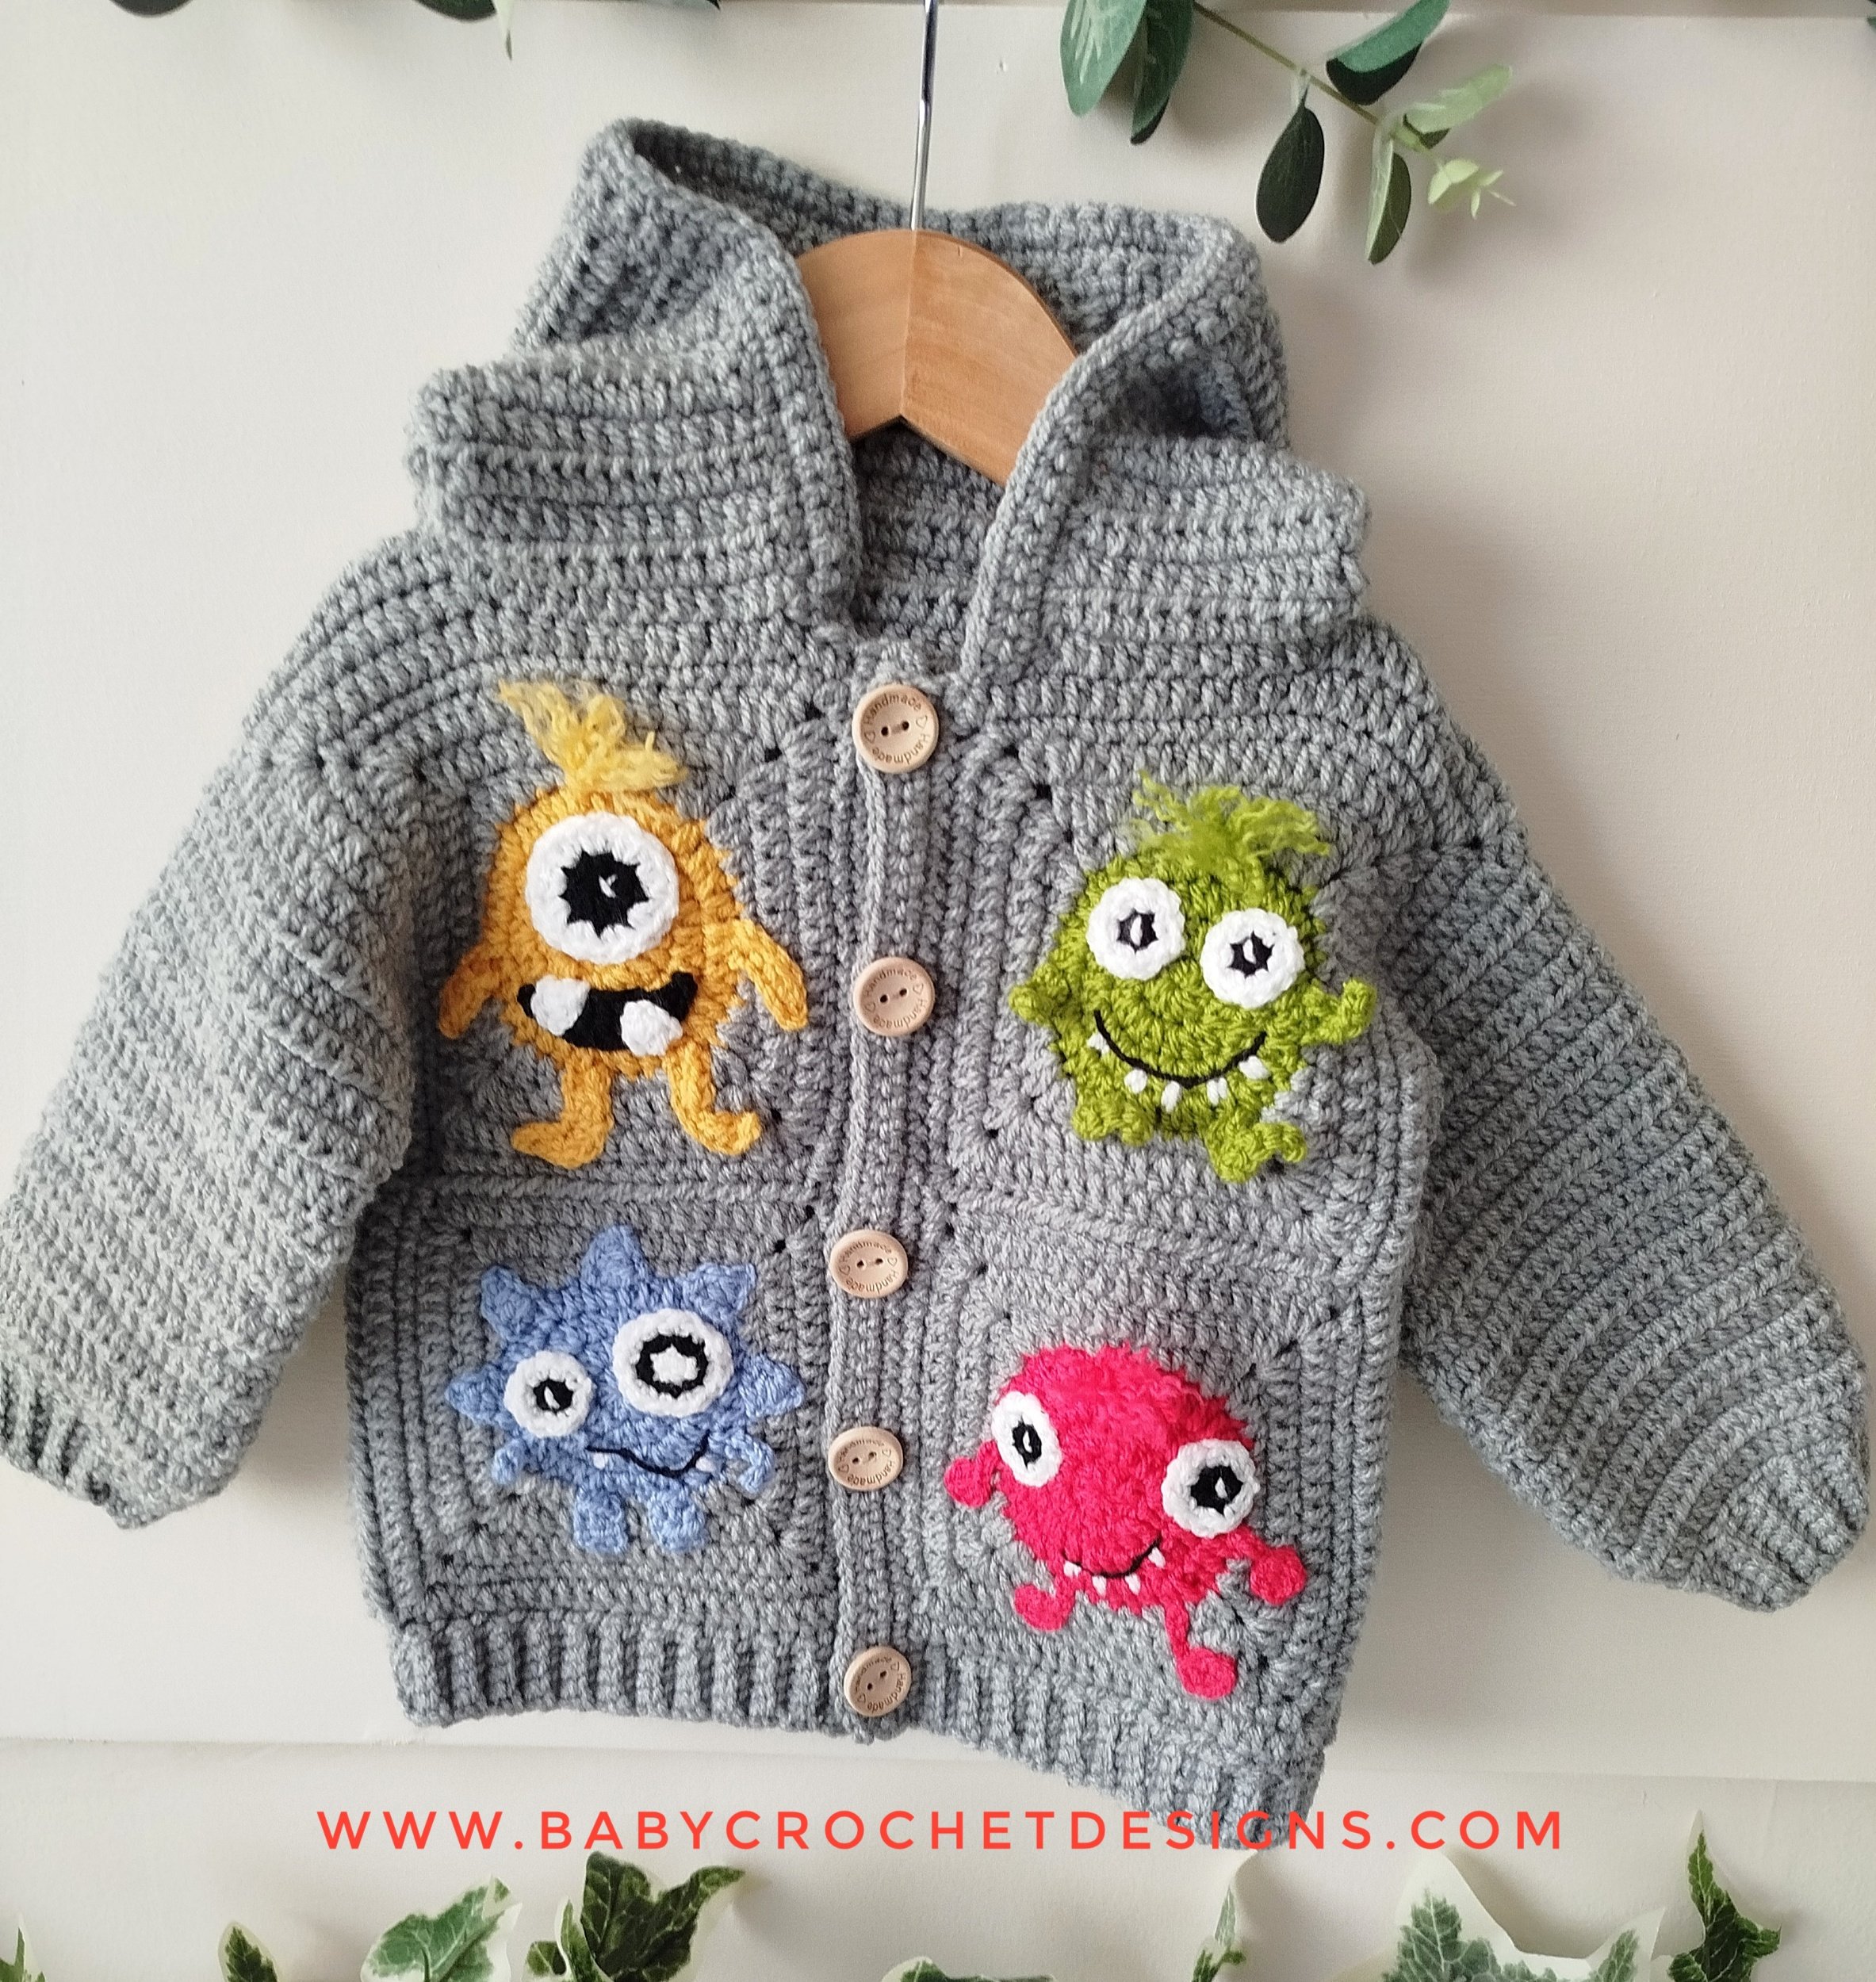
Pick and mix Granny Squares
I will add extra tips and new ways to make your pick and mix granny squares and clothing here.
I thought it might be fun for children to be involved in designing their own jumper!
So I have drawn up a blank jumper, if you click and save the image you can print it out and they can colour it in and draw what characters they want on each square. It can be used for the cardigan too.


Lemon peel / Griddle stitch sleeves
A video is available in the above links
Join yarn the wrong side facing. Ensure you have an even number of stitches for the first round.
Round 1: ch1, *sc 1, dc 1* repeat around, slst to the first, if changing colour each round, pull new colour through and ch1. Turn
Repeat round 1 until the sleeve is as long as you need.
If you want to decrease, finish a round with a sc 2 together, then start the round after with a sc 2 together.
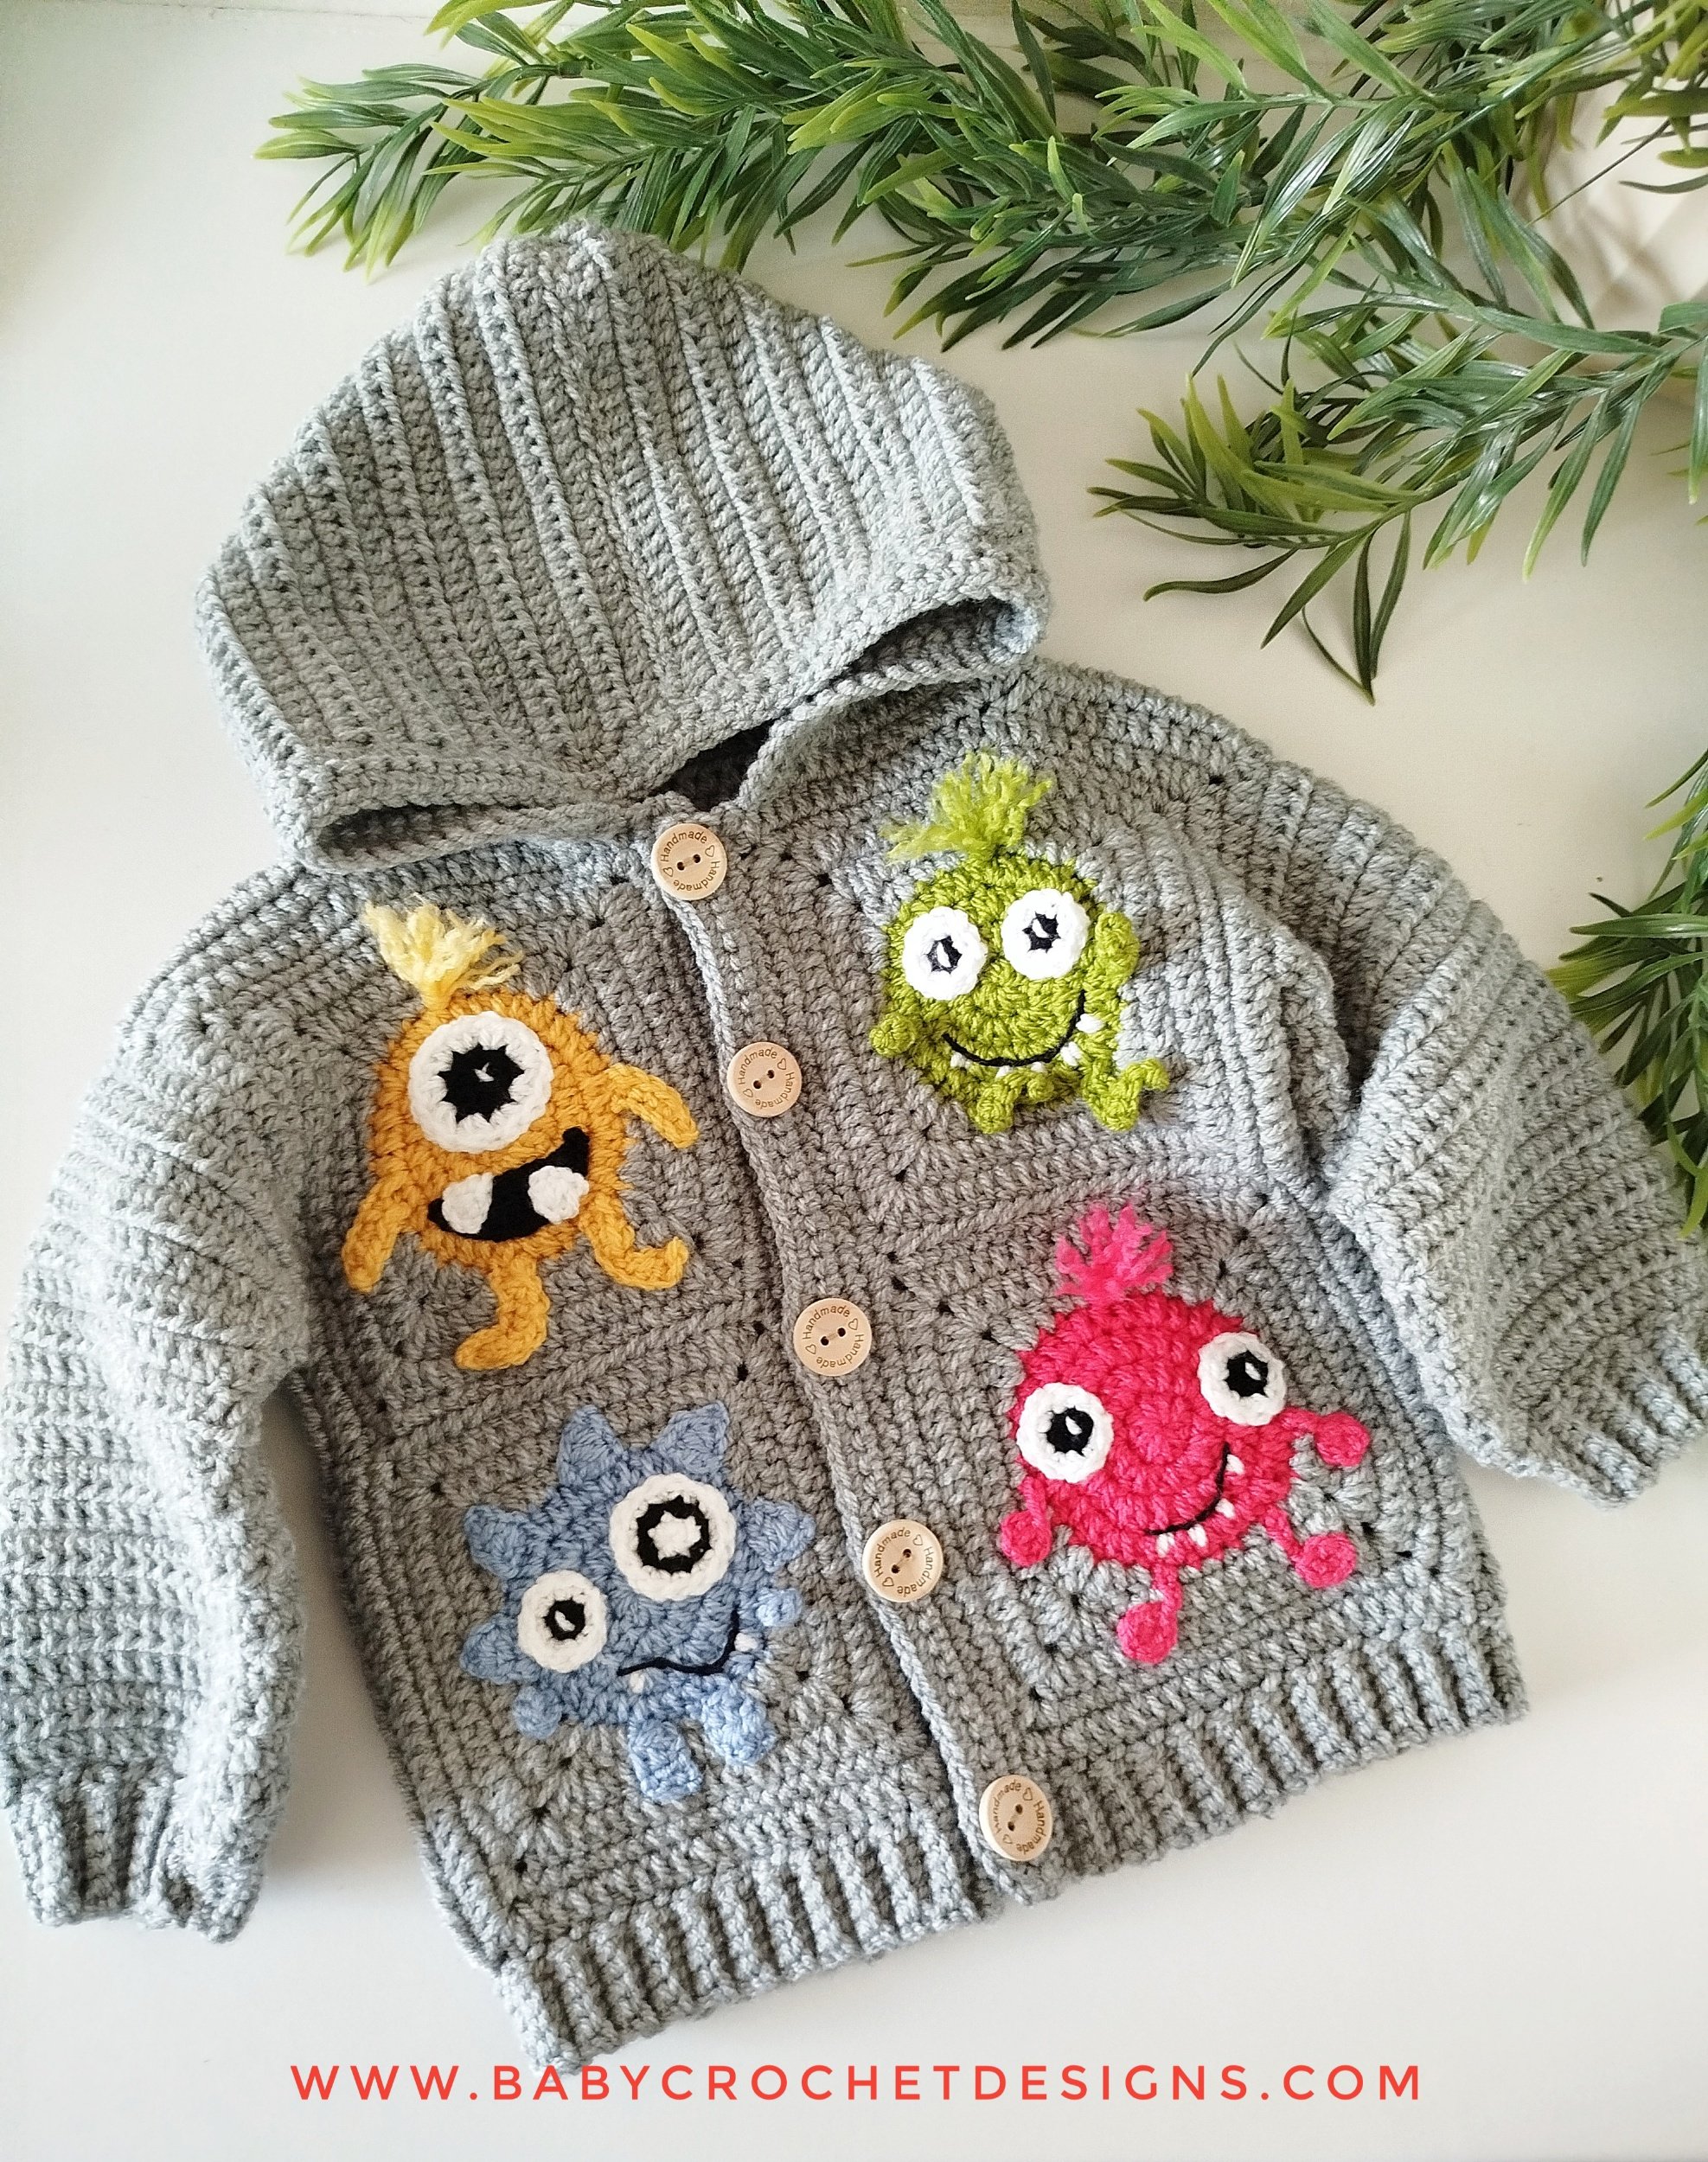
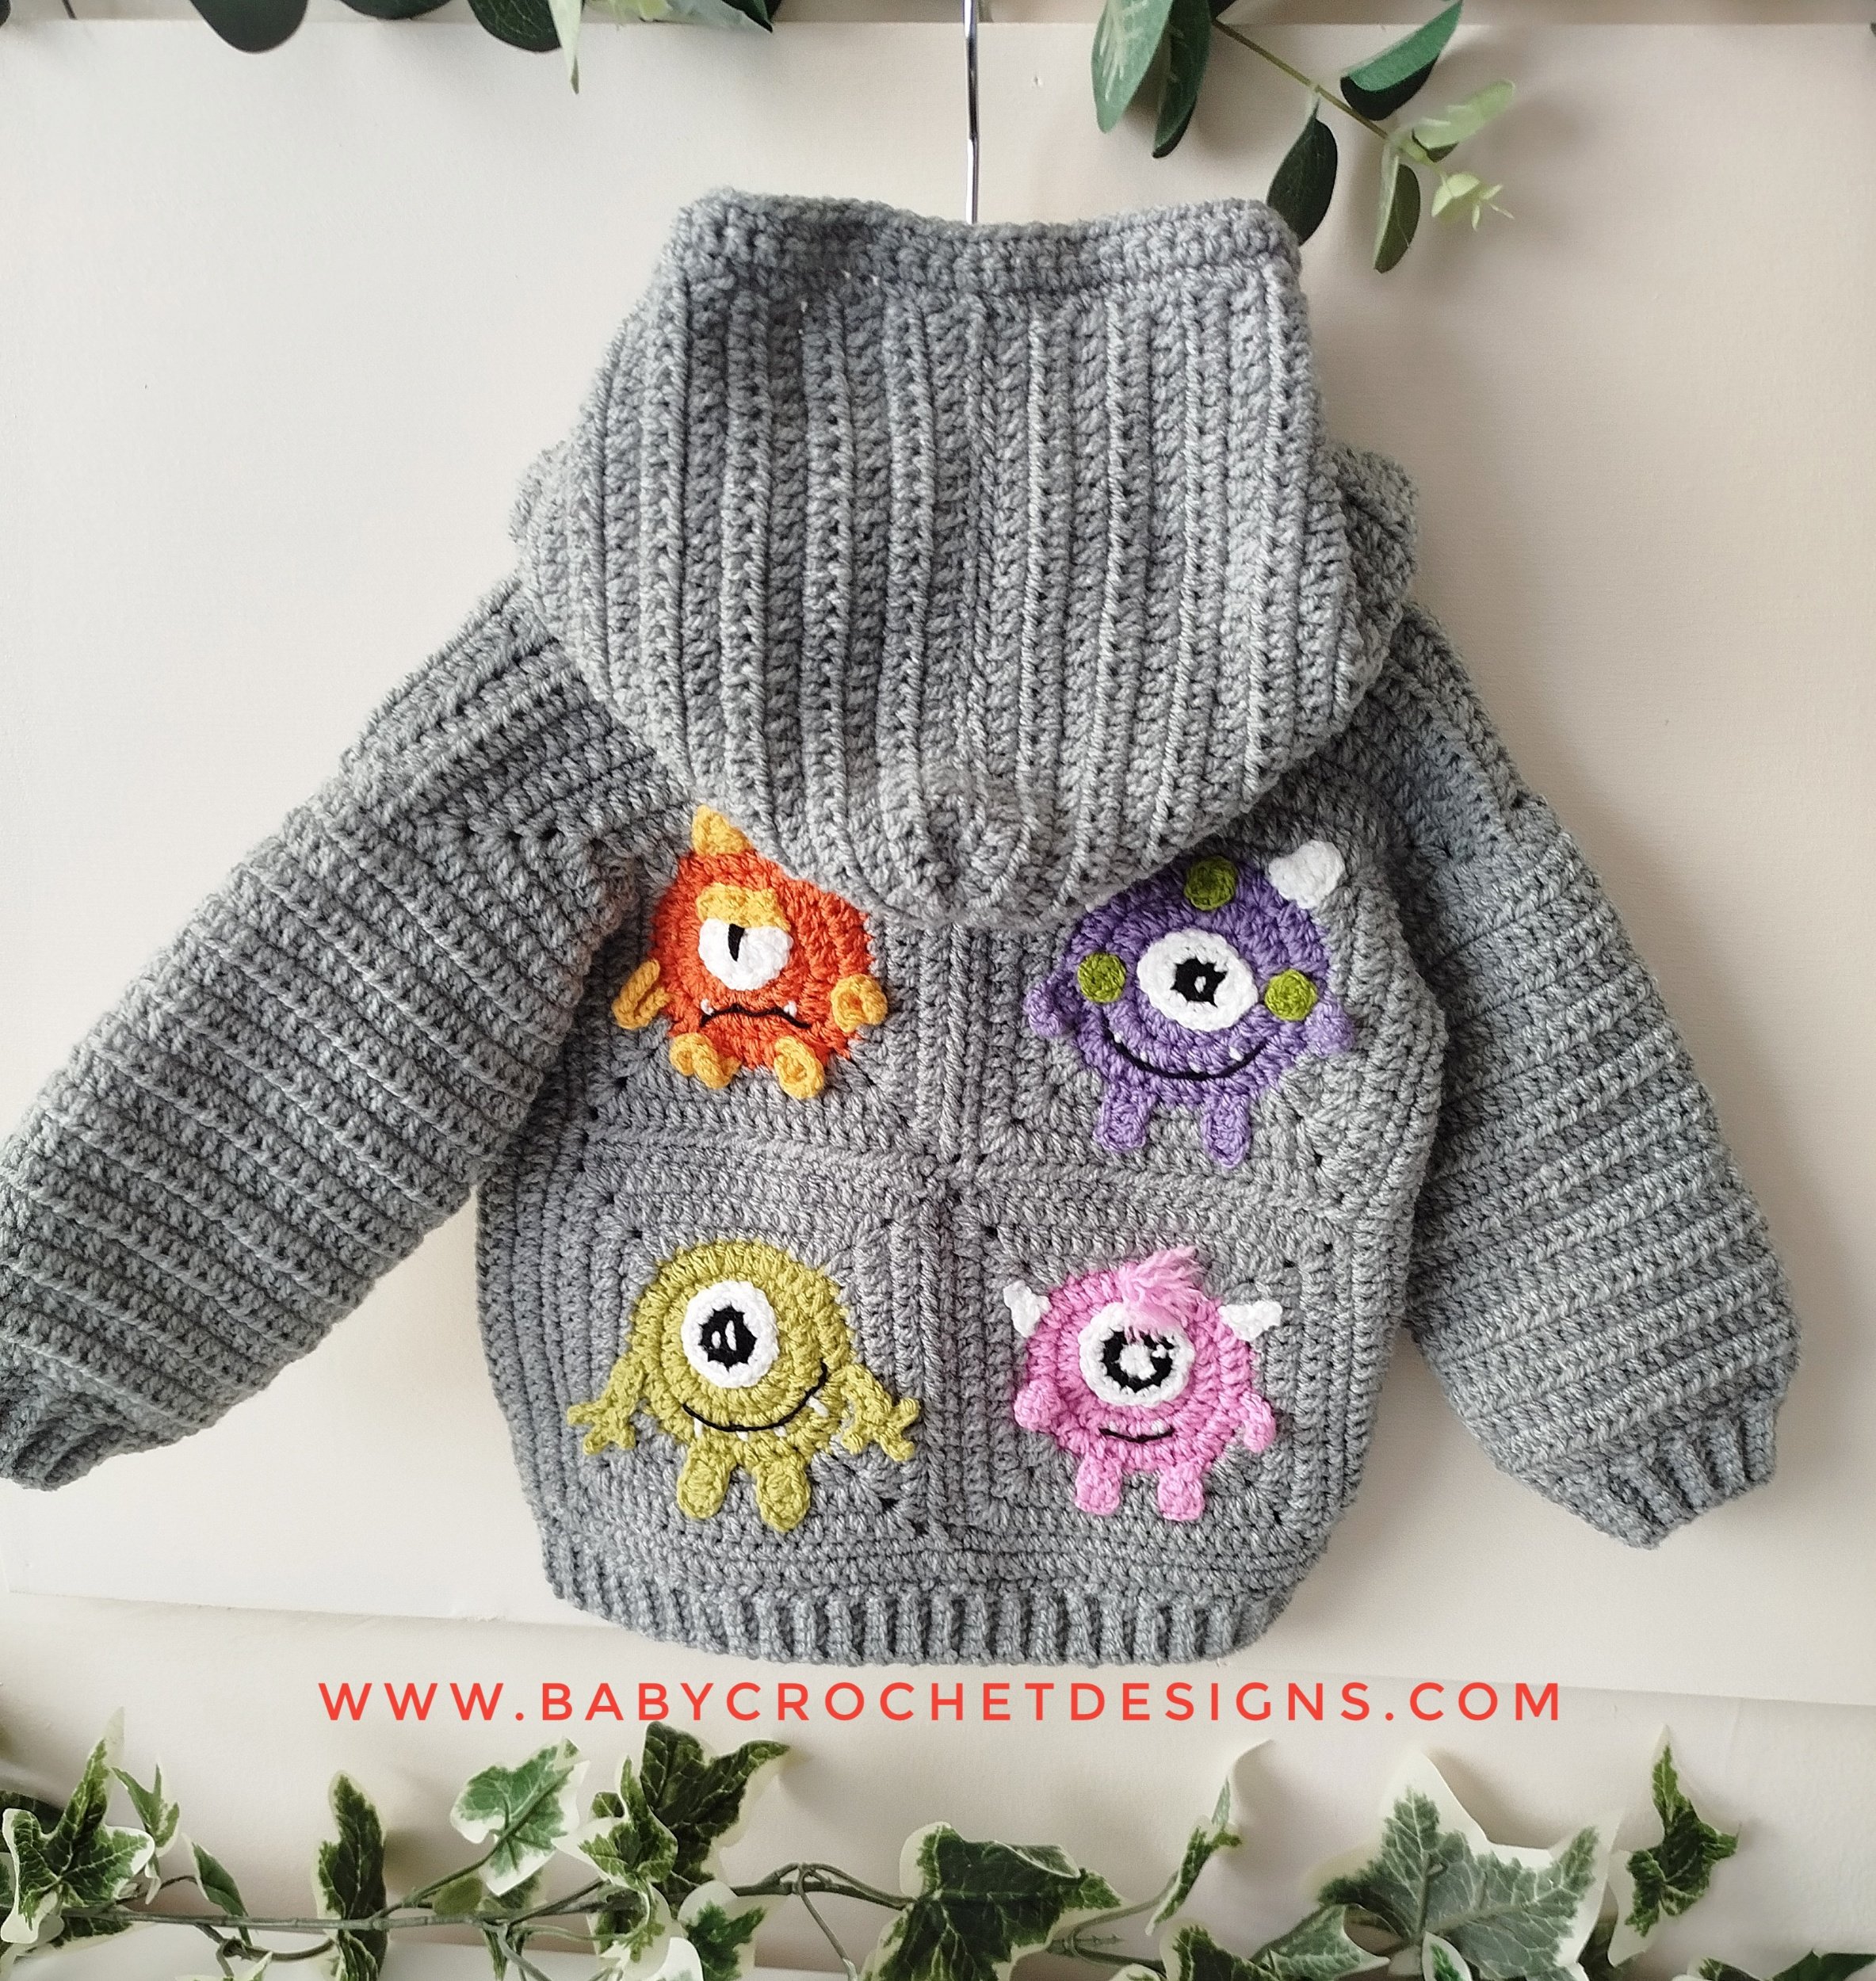
Adding a hood to the pick and mix cardigan
I made this 6-12 months sized pick and mix cardigan with a hood. I made the hood before the edging and button bands, as I decided to do it a different way. I made a video HERE, to show what I did.
The following hood sizes are just a guide.
HOOD SIZES
Hood length approx: Hood width approx:
0-3 months 7” 12” (55 stitches)
3-6 months 7.5” 13” (59 stitches)
6-12 months 8” 13.5” (61 stitches)
1-2 years 8.5” 14.5” (65 stitches)
3-4 years 9” 15.5” (69 stitches)
5-6 years 9.5” 16” (73 stitches)
7-8 years 10” 16.5” (75 stitches)
9-10 years 11” 17” (77 stitches)
HOOD
Row 1: Skip the first 3 stitches of the neck and join yarn, hdc around the neck, (at the shoulders work 3 stitches across 2 rows), leaving the last 3 stitches unworked at the other side. Turn
Check how many stitches you have and on the next row you can add the required stitches, by placing 2 hdc in one stitch to increase (do this as evenly as you can across the row).
Row 2: ch1, hdc all, (making increases if necessary). Turn
Repeat row 2 until the hood is approx 2” shorter than above, (I did 6” for 6-12 months) this is where the shaping starts, the shaping is 2” so it will make it 8” in total (the shaping makes the hood less pointed).
HOOD SHAPING
To start the shaping, place a marker in the centre stitch of the hood, then on the following rows, you will only be working one half of the hood.
Row 1: ch1, hdc to 2 stitches before the marker and hdc2tog. Turn
Row 2: ch1, hdc2tog, hdc to end. Turn
Row 3: ch1, hdc to the last 2 stitches, hdc2tog. Turn
Row 4: ch1, hdc2tog, hdc to end. Turn
Row 5: ch1, hdc to the last 2 stitches, hdc2tog.
The hood should now measure the correct size, if not you may need to add another row.
Fasten off, skip the stitch with the marker and join yarn, the above rows for the other side, making the hdc2tog at the side with the marker.
SEWING THE HOOD
Turn the hood inside out, fold the hood in half, then sew together
HOOD EDGING
With the right side facing, join yarn to the bottom of the hood
Row 1: ch1, sc around the hood, to the other side, slst 2 stitches from the skipped stitches of the neck. Turn
Row 2: ch1, sc all, slst 3 stitches from the skipped stitches of the neck. Turn
Row 3: ch1, sc all, slst into the last stitch of the neck.
BUTTON BAND
Continuing from bottom ribbing
Row 1: ch1, sc up the side. Turn
Row 2: ch1, sc in each stitch back to bottom. Turn
Row 3: ch1, sc in each stitch back to top.
Fasten off.
BUTTONHOLE BAND
Row 1: With the right side facing, join yarn to the top of the left hand side of the front edge, ch1, sc to the bottom. Turn
Mark out where you want the button holes, on the next row ch2 and skip the one where the markers are.
Row 2: Buttonhole row, ch1, sc all, ch2 and skip 1 where the markers are to create the buttonholes. Turn
Row 3: Ch1, sc all, including 1 sc in the ch2 space.
Fasten off and sew your buttons on to match the button holes and weave in all ends.


ALPINE STITCH

For this cardigan I used alpine stitch, to give a bit of texture. This is what changes I made.
SQUARES
On the last few rounds of the squares (from the row after turning into a square) I did the alpine stitch as follows is working in the round, without turning.
Round 1: [ch3, dc, ch2, 2 dc] in the corner, dc, *fpdc 1, dc 1* repeat to corner, *[2 dc, ch2, 2 dc] in the corner, dc, *fpdc 1, dc 1* repeat to corner* x 3, slst to the first, slst to the corner.
Round 2: [ch3, dc, ch2, 2 dc] in the corner, fpdc 1, *dc 1, fpdc 1* repeat to corner, *[2 dc, ch2, 2 dc] in the corner, fpdc 1, *dc 1, fpdc 1* repeat to corner* x 3, slst to the first, slst to the corner.
Repeat rounds 1-2 until your square is the right size.
SHAPING (shoulders / sides)
Right side rows: ch1, dc, *fpdc 1, dc 1* repeat to end. Turn
Wrong side rows: ch1, sc all. Turn
Repeat both rows until size required.
I think a few extra rows than the pattern states, as the sc rows are a bit shorter.
SLEEVES
Working the right side facing
Row 1: ch1, *dc 1, fpdc 1* repeat to end, slst to first.
Row 2: ch1, *fpdc 1, dc 1* repeat to end, slst to first.
Repeat rows 1-2 until sleeve is required length.