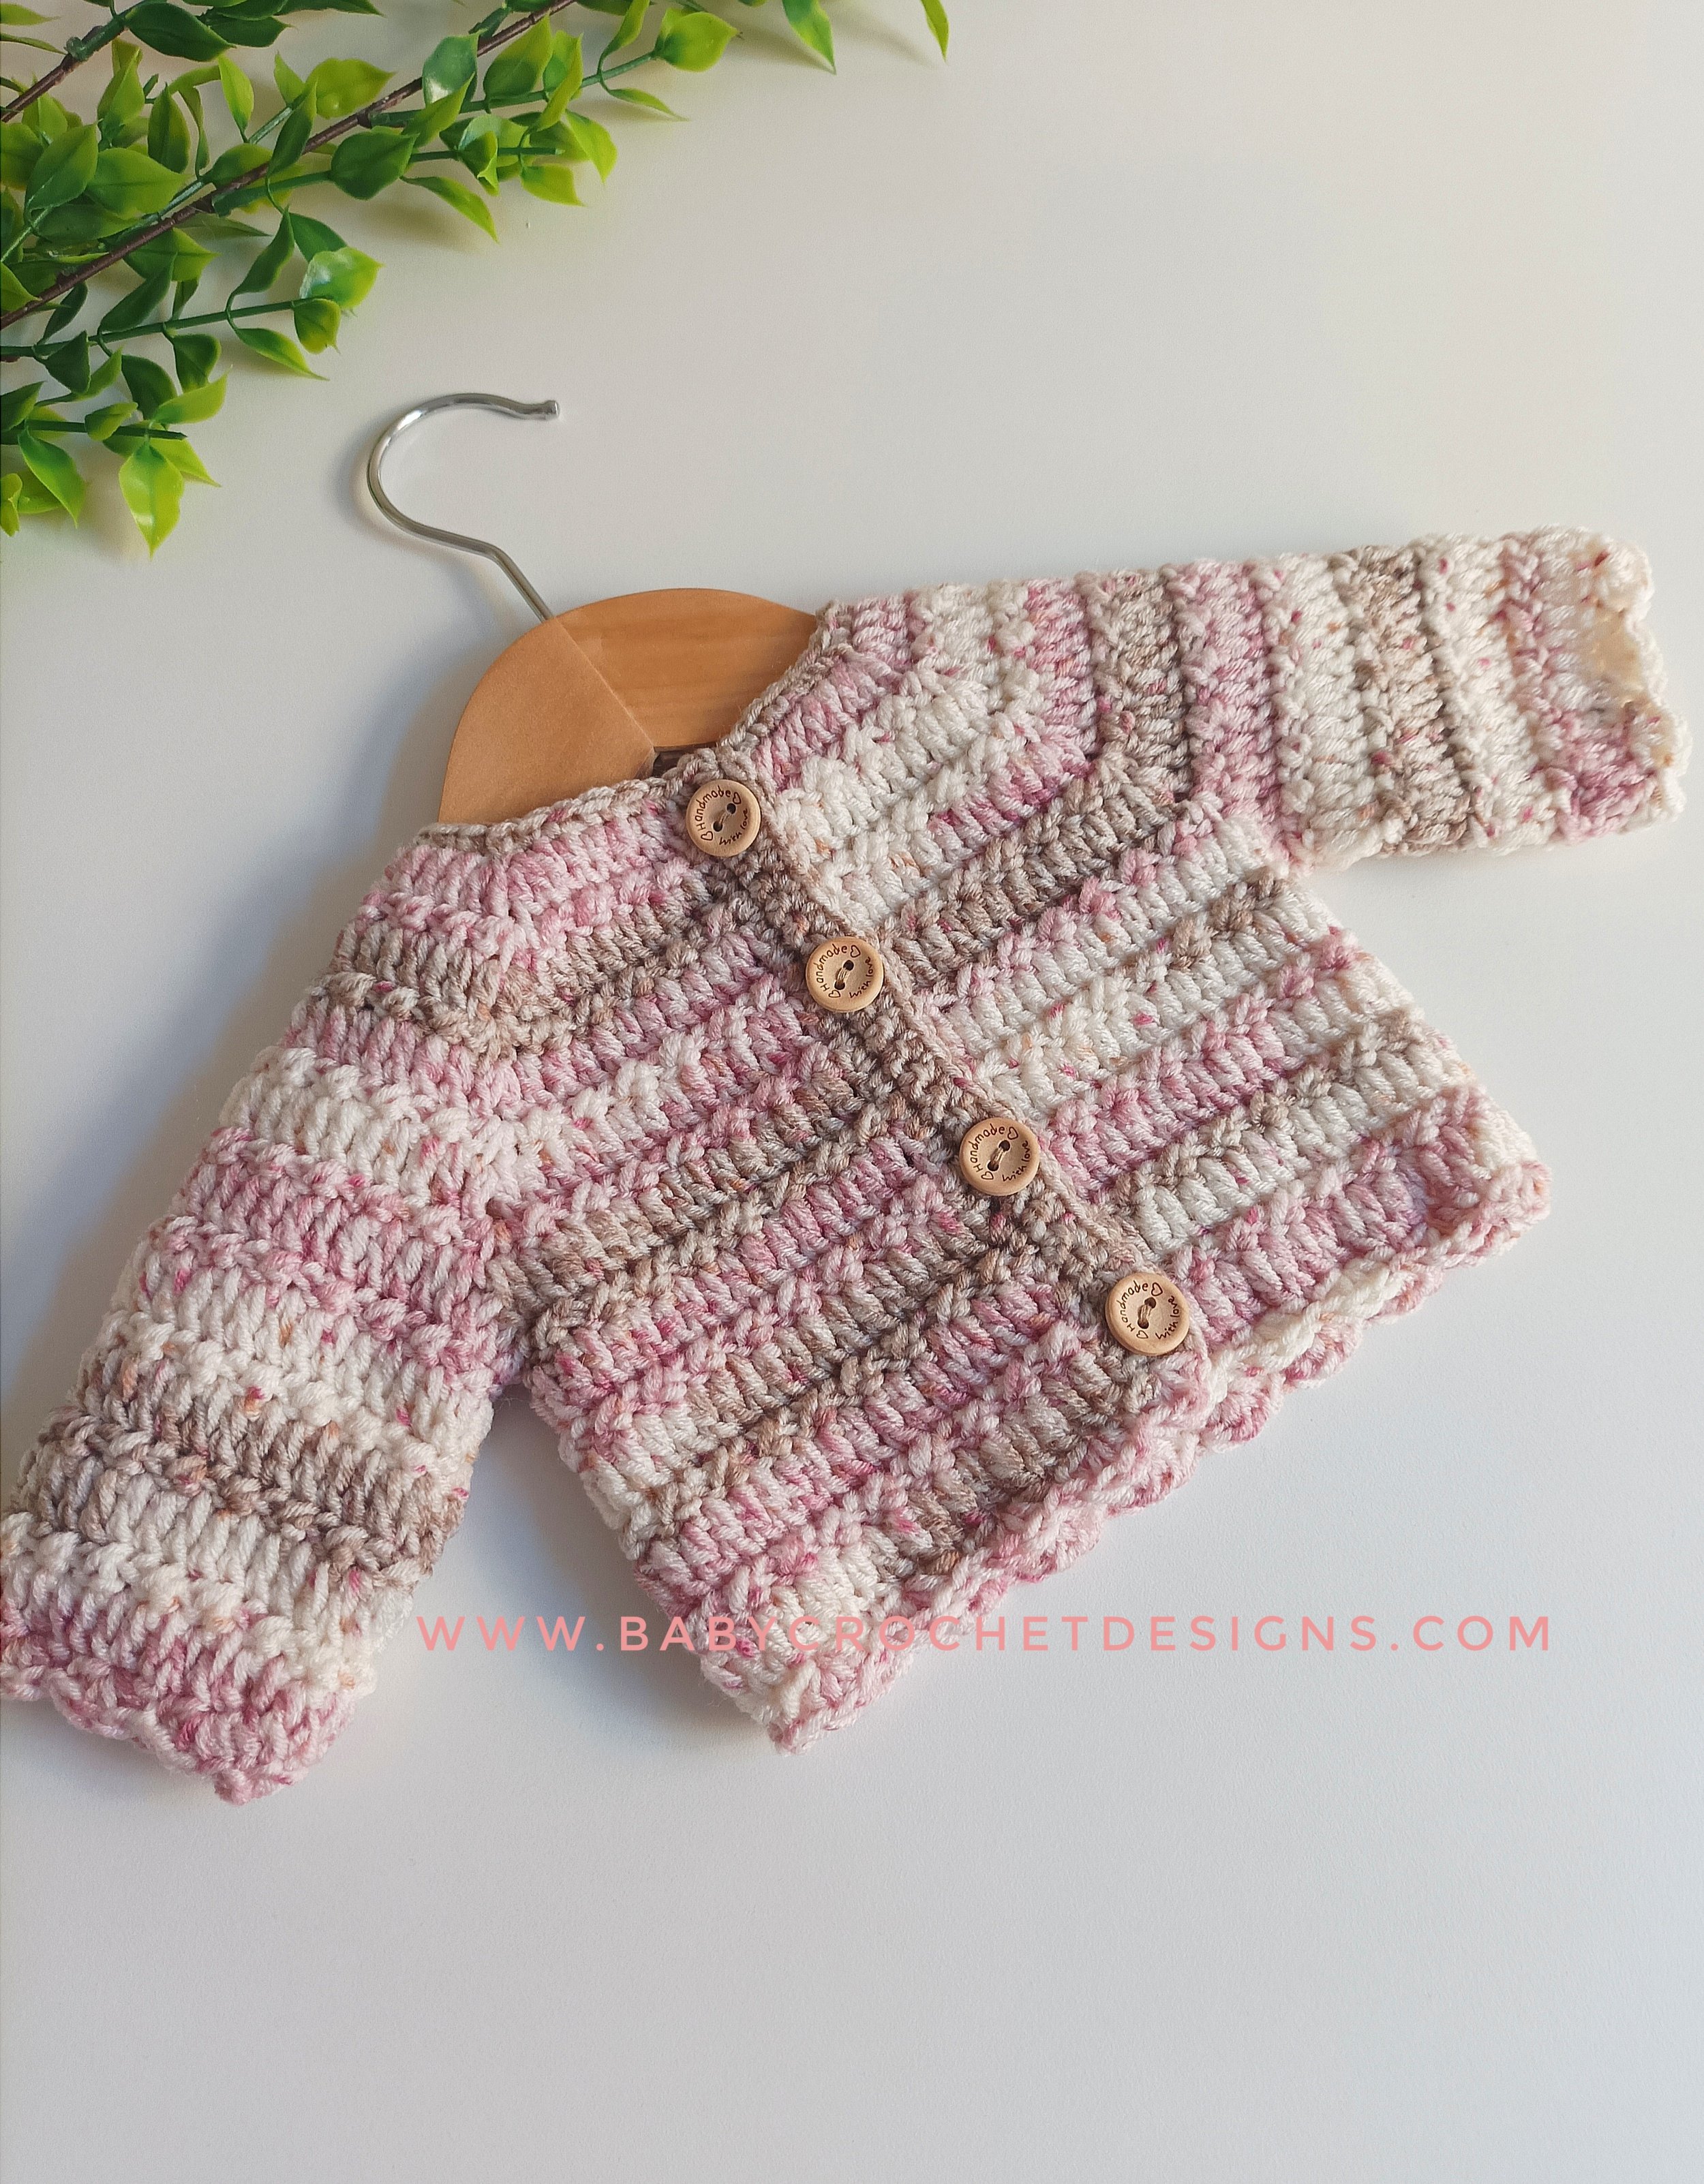
Preemie Darcie-Mai Cardigan
This crochet cardigan is made from the top down using a simple dc row then a crossed sc row and is quick and easy to work up.
Materials
220 metres Stylecraft Bambino Prints dk shade Rag Doll (268 metres per 100g)
4 mm crochet hook
4 x 15smm buttons
Written in English US terms with abbreviations for UK
sc = single crochet (double crochet UK)
dc = double crochet (treble crochet UK)
cc = criss cross (skip one, sc in next, go back and sc in the skipped stitch) (skip 1, dc in next, dc in skipped stitch UK)
ch = chain
dec = decrease (crochet 2 stitches together)
slst = slip stitch
[ ] = in the same stitch
* * = repeat between
Gauge
With a 4mm hook
9 stitches x 3 rows dc and 3 rows sc = 2” x 2”.
Pattern notes
The ch1 at the beginning does not count as a stitch so always sc / dc in the first stitch.
The ch1 or 2 corners counts as 1 stitch
The sides may look a bit wonky, they will straighten out when adding the button bands.
The dc row is right side facing and cc row wrong side facing.
Preemie 4-6lb
Ch46
Row 1: dc in third ch from hook, dc 5, [2 dc, ch1, 2 dc] in the next, dc 8, [2 dc, ch1, 2 dc] in the next, dc 12, [2 dc, ch1, 2 dc] in the next, dc 8, [2 dc, ch1, 2 dc] in the next, dc 6. (60) Turn
Row 2: ch1, cc 8, [sc, ch2, sc] in the ch1 space, cc 12, [sc, ch2, sc] in the ch1 space, cc 16, [sc, ch2, sc] in the ch1 space, cc 12, [sc, ch2, sc] in the ch1 space, cc 8. (68) Turn
Row 3: ch1, dc 9, [dc, ch1, dc] in the ch2 space, dc 14, [dc, ch1, dc] in the ch2 space, dc 18, [dc, ch1, dc] in the ch2 space, dc 14, [dc, ch1, dc] in the ch2 space, dc 9. (76) Turn
Row 4: ch1, cc 10, [sc, ch2, sc] in the ch1 space, cc 16, [sc, ch2, sc] in the ch1 space, cc 20, [sc, ch2, sc] in the ch1 space, cc 16, [sc, ch2, sc] in the ch1 space, cc 10. (84) Turn
Row 5: ch1, dc 11, [dc, ch1, dc] in the ch2 space, dc 18, [dc, ch1, dc] in the ch2 space, dc 22, [dc, ch1, dc] in the ch2 space, dc 18, [dc, ch1, dc] in the ch2 space, dc 11. (92) Turn
Row 6: ch1, cc 12, [sc, ch2, sc] in the ch1 space, cc 20, [sc, ch2, sc] in the ch1 space, cc 24, [sc, ch2, sc] in the ch1 space, cc 20, [sc, ch2, sc] in the ch1 space, cc 12. (100) Turn
Row 7: ch1, dc 13, [dc, ch1, dc] in the ch2 space, dc 22, [dc, ch1, dc] in the ch2 space, dc 26, [dc, ch1, dc] in the ch2 space, dc 22, [dc, ch1, dc] in the ch2 space, dc 13. (108) Turn
Row 8: (Divide for arm holes) ch1, cc 14, [2 sc] in the ch1 space, skip 24, [2 sc] in ch1, space, cc 28, [2 sc] in ch1 space, skip 24, [2 sc] in ch1 space, cc 14. (64) Turn
Row 9: ch1, dc all. (64) Turn
Row 10: ch1, cc all. (64) Turn
Row 11: ch1, dc all. (64) Turn
Repeat rows 10 and 11 until work measures approx 7” from the shoulder.
Continue to button band on page 4.
Sleeves
Row 1: join yarn to first unworked stitch under arm, ch1, cc 28, slst to first. (28) Turn
Row 2: ch1, dc to end, slst to first. (28) Turn
Repeat row 1 and 2 until the sleeve measures 6.5” from the shoulder.
Cuffs
Row 1: ch1, sc 2, *sc 2, dec* x 6, sc 2. (22) Turn
Row 2: ch1, sc all. (22) Turn
Fasten off and repeat for the other sleeve.
Buttonhole Band
If making bigger sizes you may want to do 5 rows of sc for the button bands, making the buttonhole row on the 3rd row)
Continuing from bottom
Row 1: ch1, sc in the same, sc up to the top. Turn (I found 2 sc per dc row and 1 sc per cc row worked well)
Mark out with stitch markers or scrap yarn where you want the button holes. (If using bigger buttons you can ch2 to make the buttonholes a bit bigger)
Row 2: ch1, sc in the same, sc all, but ch1 and skip where the stitch markers are to make the button holes.
Row 3: ch1, sc in the same, sc all including the ch1s. Turn
Fasten off.
Button Band
Row 1: Starting at the right top side, join yarn, ch1, sc in the same, sc down to the bottom. Turn
Row 2-3: ch1, sc in the same, sc all. Turn
Continue to shell edging
Shell edging
Continuing from the button band, count each row of the button band as a stitch
Ch1, *skip 1, 4 hdc in the next, skip 1, slst in the next* repeat to the end.
Fasten off and sew buttons to match the buttonholes.
Collar
Join yarn at the top of the buttonhole band, ch1, sc across, (if you want to decrease a few to bring the neck in you can).
I would love to see your makes feel free to share #darciemaicardigan @babycrochetdesigns Instagram and Facebook.
*COPYRIGHT 2023 This pattern is made for personal use only. You may not copy, share or sell this pattern, you may make and sell items made from my patterns but please credit me @BabyCrochetDesigns as the designer many thanks*

